|

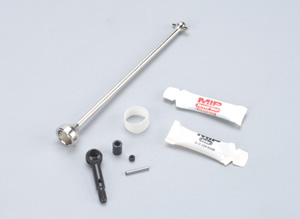
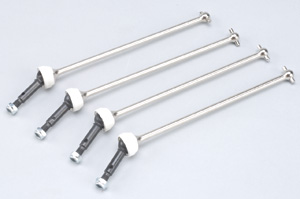
1.CVDs
come in five parts: the axle, driveshaft, coupling, cross pin,
and set screw. Get your parts laid out, and make sure you have
everything ready, including your hex wrench (the correct size
for the set screw) and your thread lock/anti-wear grease.
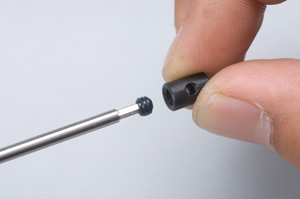
2. Let's
start with the set screw. Place the set screw on your hex wrench
and put a small dab of thread lock onto the threads. Don't
overdo it—a small dab will do, as it will spread around the
threads when you install the set screw. With the thread lock in
place, insert the set screw into the coupling. Thread it in as
far as you can without blocking the cross pin hole.
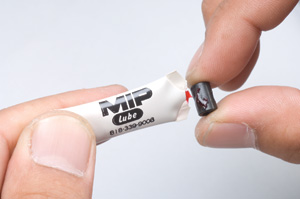
3. Put a
light coat of anti-wear grease (do not use diff grease!) on the
coupling's outer surface. You don't need gobs of grease here, as
that will only attract dirt and dust and will wear your CVDs
prematurely. I like to put a dab of anti-wear grease on the
coupling, and then I roll it back and forth between my two
fingers to spread the grease lightly across the surface.
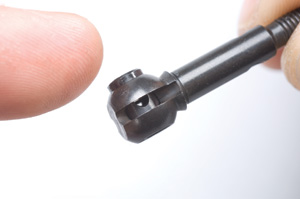
4. Insert
the coupling into the axle, making sure that the cross pin holes
are perpendicular to the axle.
5. Take
the driveshaft and place the axle inside the driveshaft cup.
Make sure that the cross pin holes on the driveshaft line up to
the cross pin hole in the coupler.
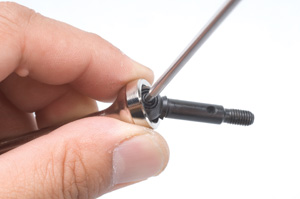
6. Now,
hold it all together with the cross pin. Insert the cross pin
into the driveshaft cup and push it all the way in until the
other end meets with the hole on the other side of the
driveshaft cup. You might have to wiggle the axle a little to
get it perfectly aligned.

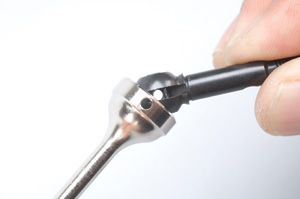
7. Hold
the cross pin with two fingers so that it stays centered inside
the coupling. Angle the axle to gain access to the coupling set
screw, and tighten the set screw with your hex wrench. Don't
overtighten the set screw, or you risk stripping it out.
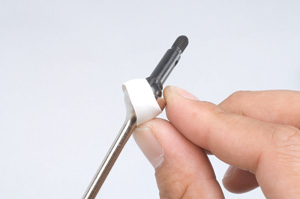
8. Most
folks are done at this point, but we'll go a step further for a
more reliable CVD. Get some shrink tubing that will fit over the
driveshaft cup, and trim to size (about 1/2" for anything
up to 1/8-scale CVDs). Slide the shrink tubing onto the
driveshaft cup, and make sure that it covers both ends of the
cross pin, with a tiny bit of shrink tubing overlapping the edge
of the driveshaft cup.
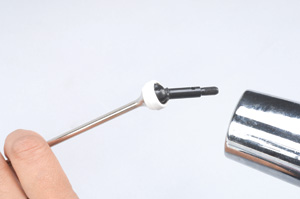
9. Using a
heat gun or a lighter, shrink the tubing so that it's snug to
the driveshaft cup.
Conclusion
The CVDs on your ride constantly spin and change speeds whenever
you move the trigger. By building your universals by the book,
you can motor on and not have to worry about them. You've now
learned how to build CVDs the right way!
|
