Almost all of
today’s on-road and off-road race chassis are built with
incredible precision. The suspension is tuned, the performance
is refined, and the handling is nothing short of phenomenal. But
if something in the car’s suspension is off, it hails disaster
in the car’s handling. Outside of setup, one commonly
overlooked suspension quandary can potentially be hidden in any
one of the moving parts on the car. You won’t find it by
simply looking at the car, and you definitely won’t find it
just by driving the car. So what exactly is the issue? Well, it’s
a little problem known as suspension binding: the tendency for
suspension parts to restrict free movement. This is how to walk
through the steps necessary to free up your suspension quickly
and easily.
Toolbox
• Hudy or Kyosho hinge pin reamers
• Emery board
• Dremel or power drill
• Metal polish.
How Long Will This Take?
About an hour, depending on how much the car’s suspension
binds.
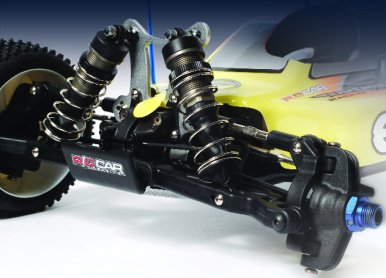
1) How to
find a bind
To start off, remove all the wheels, swaybars, and shocks from
the car. This gives the arms all the free movement they need
in order for you to find the area of bind. To check for bind,
simply set the car on a stand so that everything is off the
table surface and lift any one of the arms. Once you let go,
the arm should fall freely. If it doesn’t fall on its own,
or sticks somewhere on the way down, you’ve got a bind
somewhere in that arm.
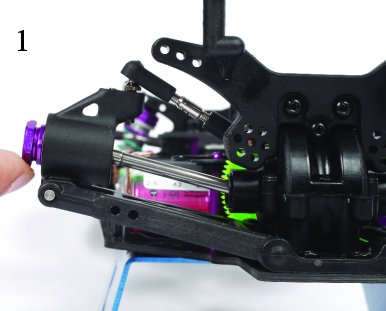
2) How to
fix it
There are several steps we can take in freeing up touring car
suspension. The most common suspension binding is in the arms.
Pinpointing the area of the bind generally revolves around the
hinge pin area. Hudy and Kyosho offer hinge pin reamers to
help free up the tight-fitting parts. Run the reamer through
the pinhole a few times and that should loosen up the fit.
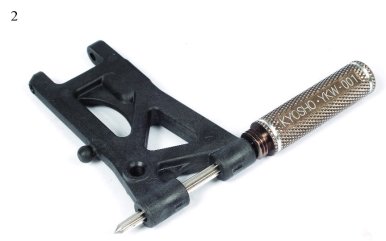
3)
Another area prone to binding is where the suspension arm
touches the suspension mount. There are times when the arm is
slightly larger than the area it’s intended for. The result
is an arm that is pinched between the suspension mounts. To
relieve the pinch, remove the arm and cut down the excess
surface. Remove a little at a time by using an emery board and
sanding the part down. Reinstall the part to check fitment.
Repeat as necessary.
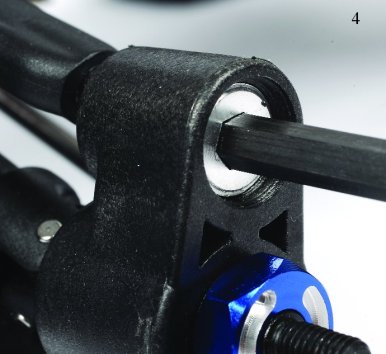
4) Cars
with pillow ball suspension can suffer binding issues also.
Luckily, this is extremely simple to solve. Take the Allen
wrench and loosen up the pillow ball clamp just a tad. Be
careful not to go too far, otherwise the suspension will be
sloppy.
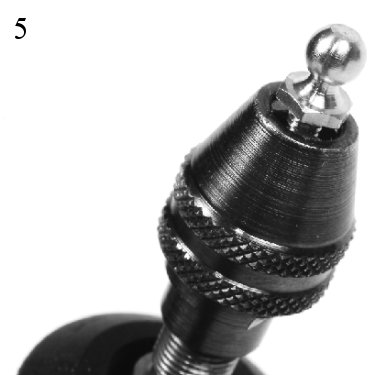
5) Ball
joints are also common binding areas. Unfortunately, there is
little that can be done to the ball joint itself to relieve
the binding. One option is to pop on the ball cup and remove
it several times, until it loosens up. Another option is to
take the ball joint itself, stick it in your dermel or power
drill, and polish it with a rag and metal polish.
Conclusion
By the time you’re done, all the A-arms should fall freely
from the top of the suspension stroke to the bottom. As simple
as the solutions are, take a moment to find the inconsistencies
in your car’s suspension and free them up. Taking care of the
problems early will produce more consistent handling
characteristics and remove any doubts of suspension reliability.
